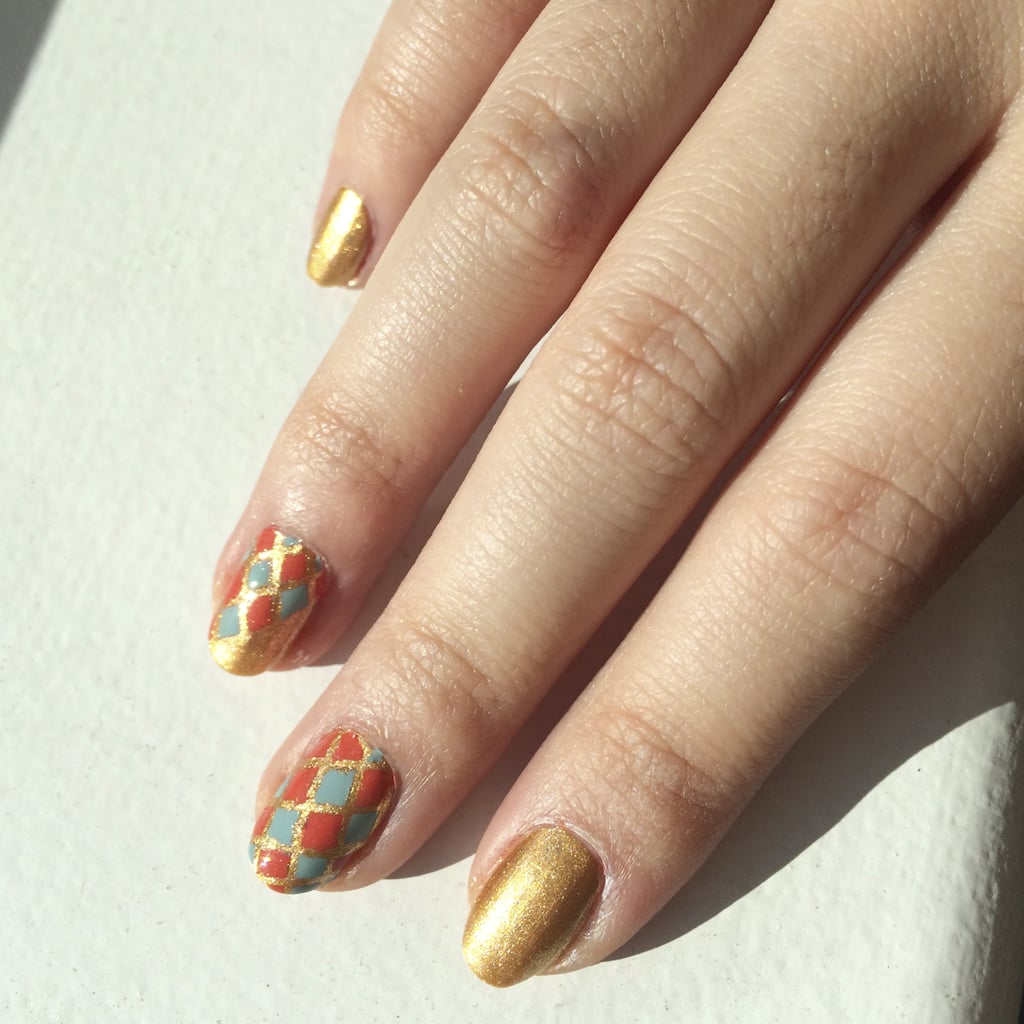
Color trends may come and go, but certain shades are seasonal classics. Bronze, coral, and turquoise make the perfect summertime trifecta. Inspired by tiles one might see while eating alfresco, I created a glowing look with accents of geometric pattern. Keep reading to see how easy it is to re-create the look!
The Products
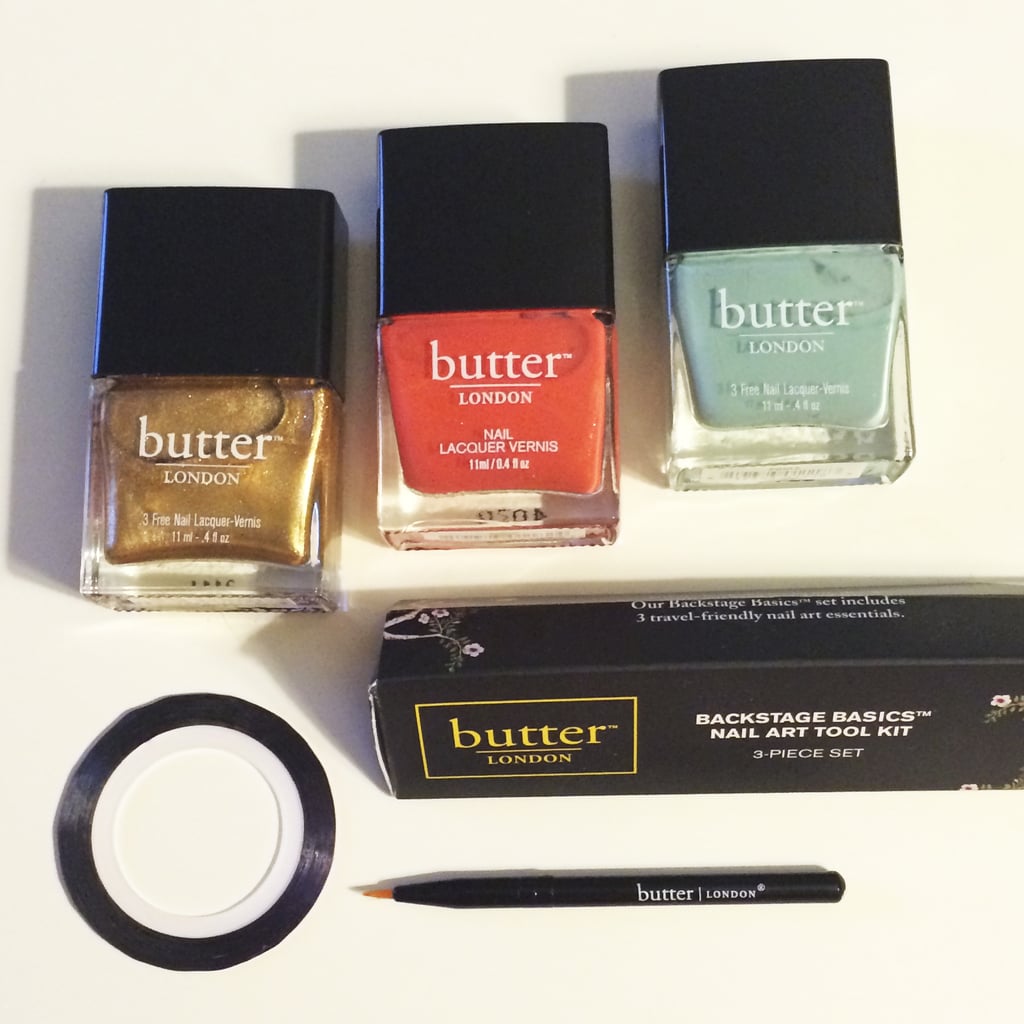
I used The Brilliant Bronze Lacquer Set [1] ($39), which comes with Marbs, a molten bronze; Torch, a warm coral; and Poole, a creamy pale turquoise. I also used striping tape [2] ($2 for a set of 10) and the striping brush from the Butter London Backstage Basics Nail Art Tool Kit [3] ($18).
Step One
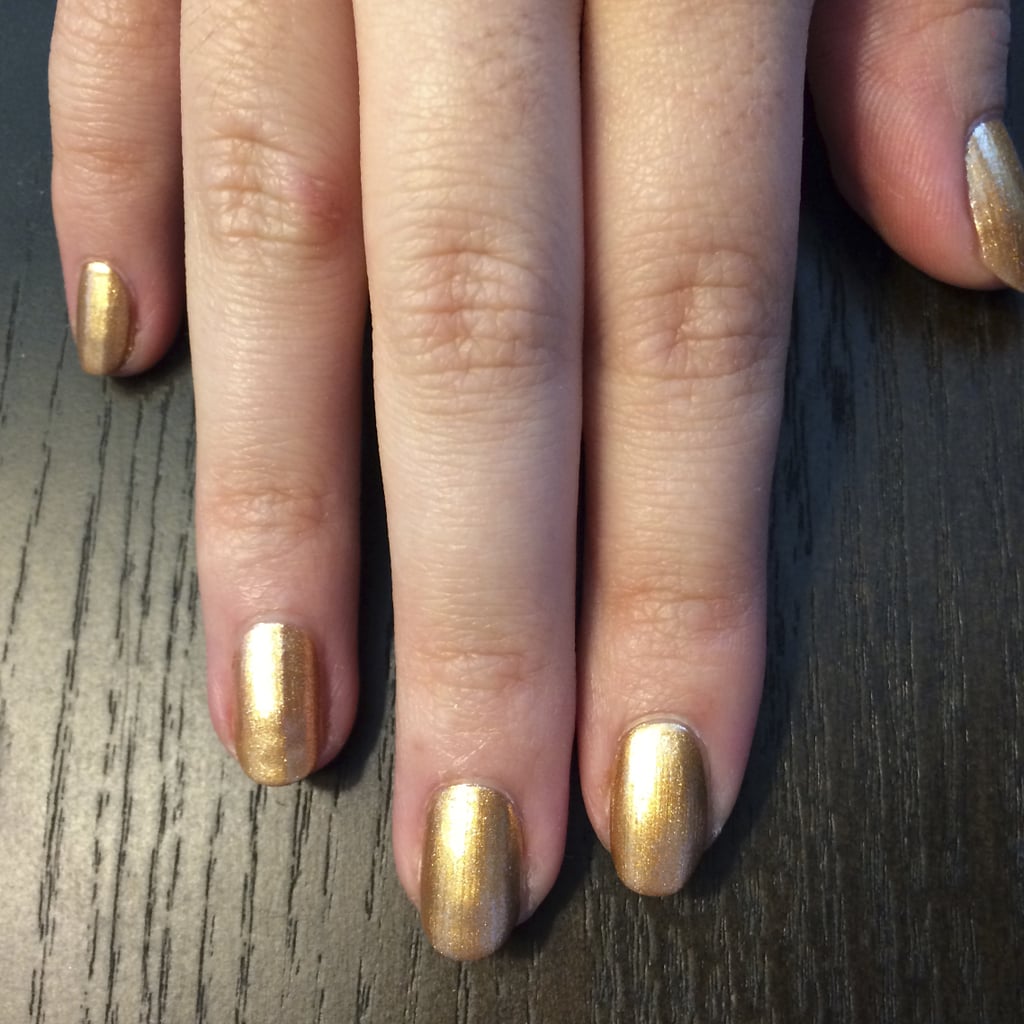
After applying Butter London Horse Power Nail Fertilizer [4] ($19), I applied two thin coats of Marbs, the sparkling bronze polish on all five nails.
Step Two
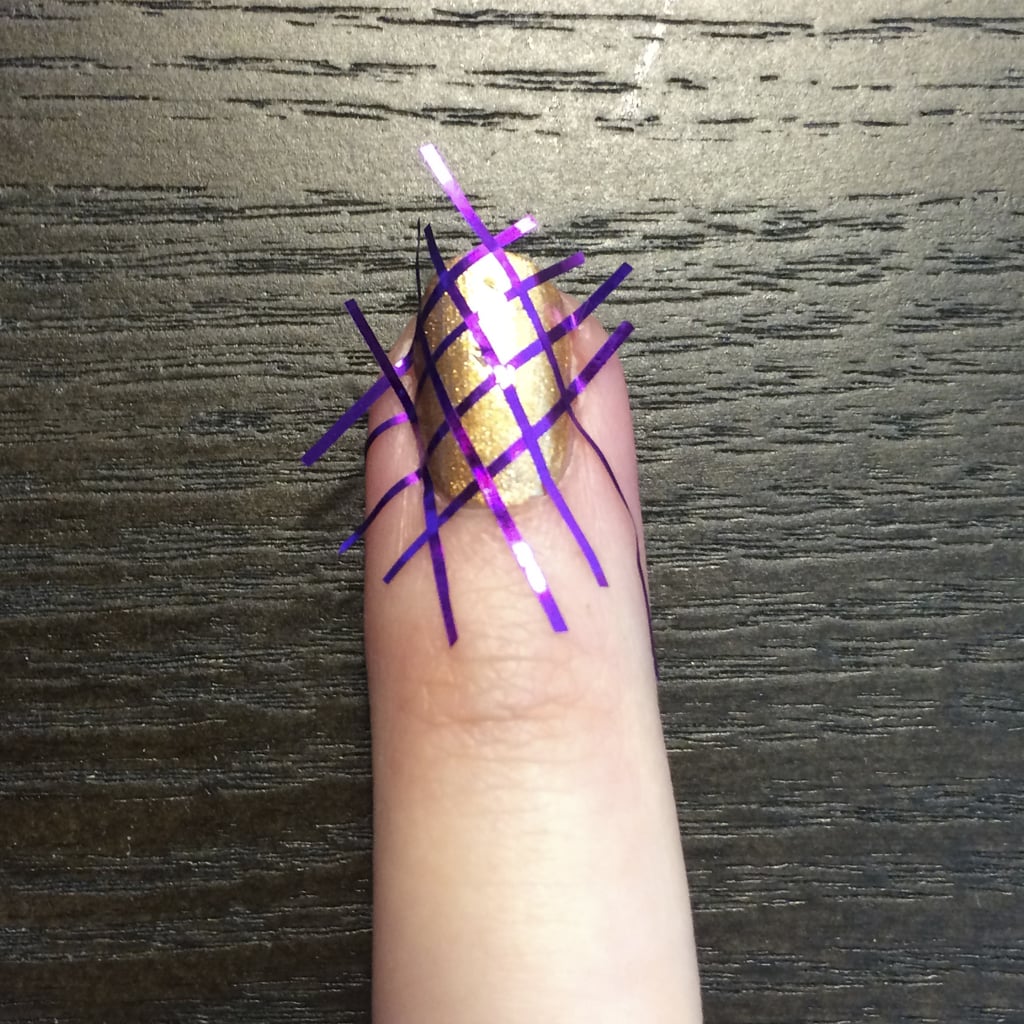
I waited about 30 minutes for the base color to dry, although I highly recommend at least an hour so it doesn't end up sticking to the tape (which happened to me). Once the base is dry, cut the striping tape into strips, and place them diagonally across your nail to create a checkered pattern.
Step Three
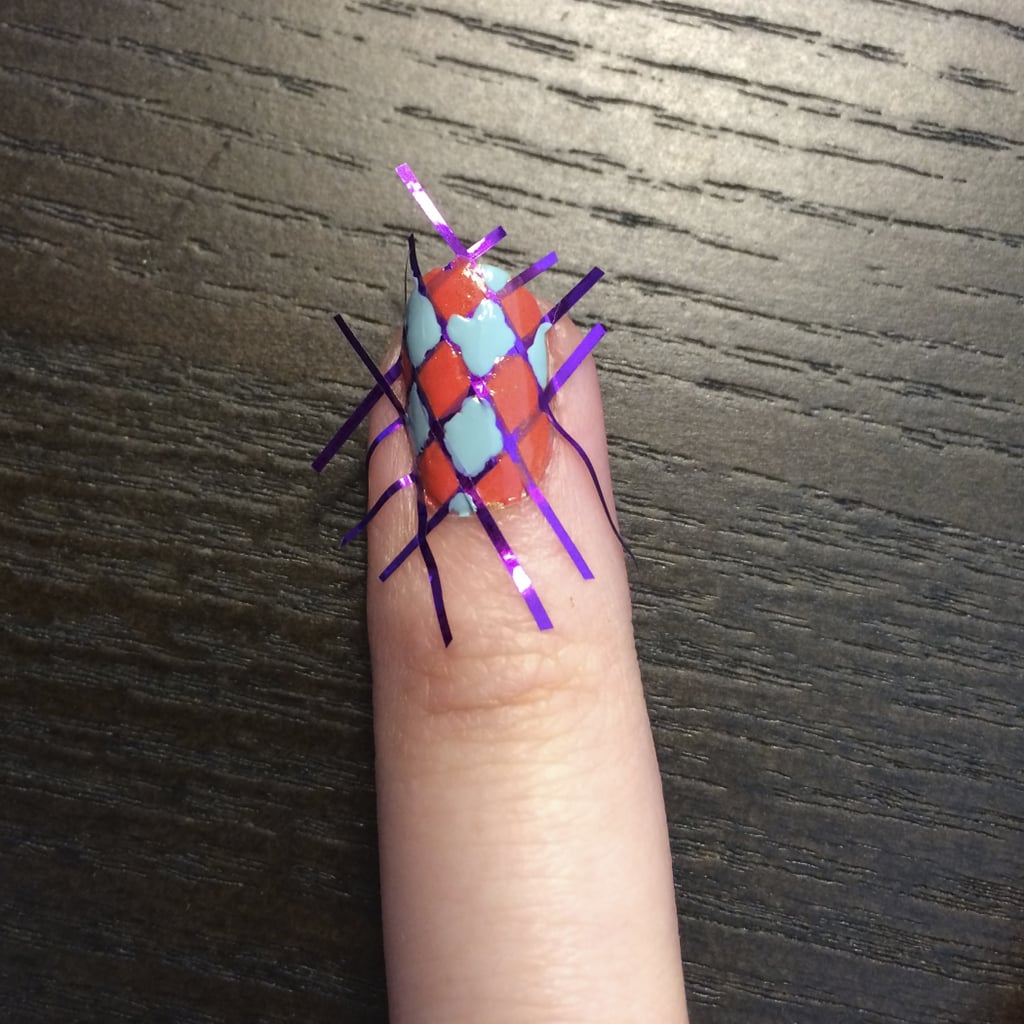
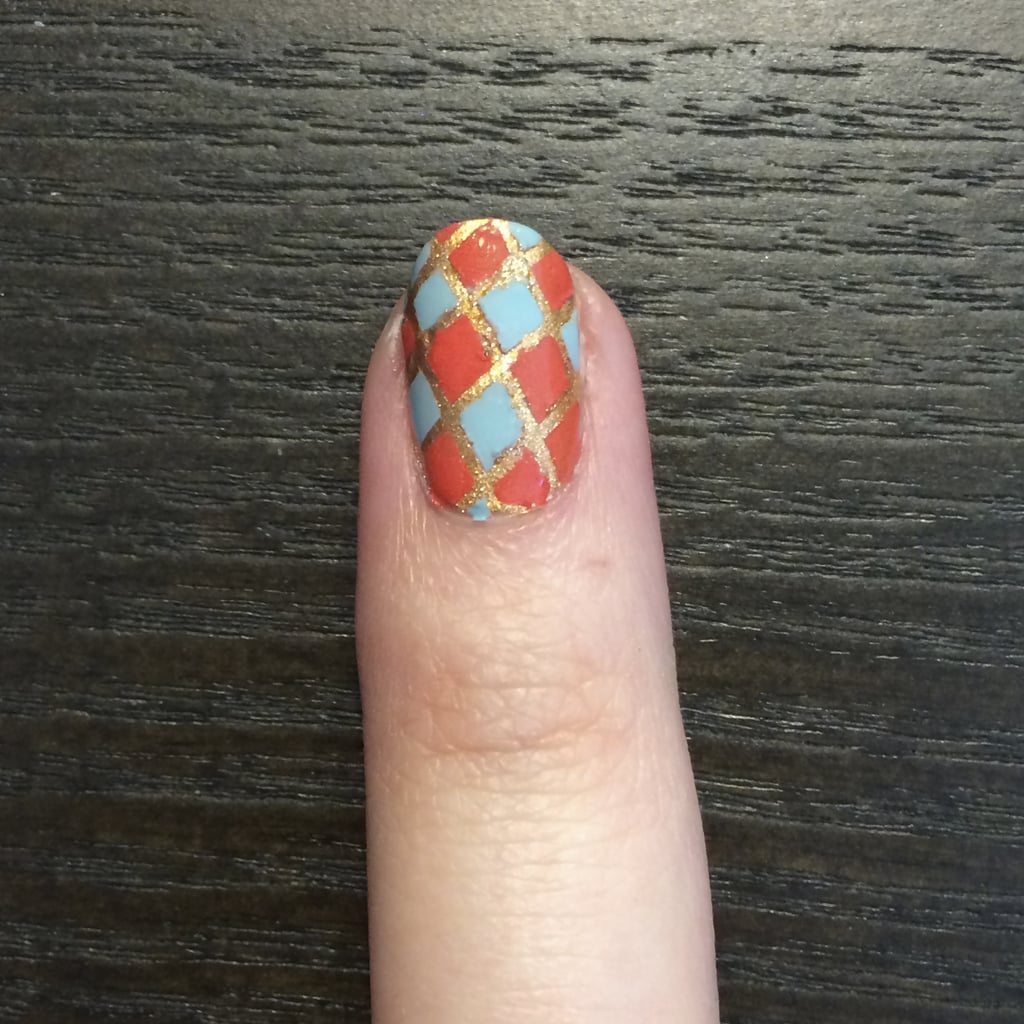
Using the striping brush, I filled in the diamond shapes with the coral and turquoise polishes.
Step Four
While the polish is still wet, gently pull off the tape. It's best to move quickly, since the polish gets tacky fast, making it difficult to pull the tape off and leave clean lines.
The Finished Look
I repeated the same tape method on my ring finger, but opted to do it only on half my nail as an accent. The final look is a radiant take on classic Summer polish hues.
