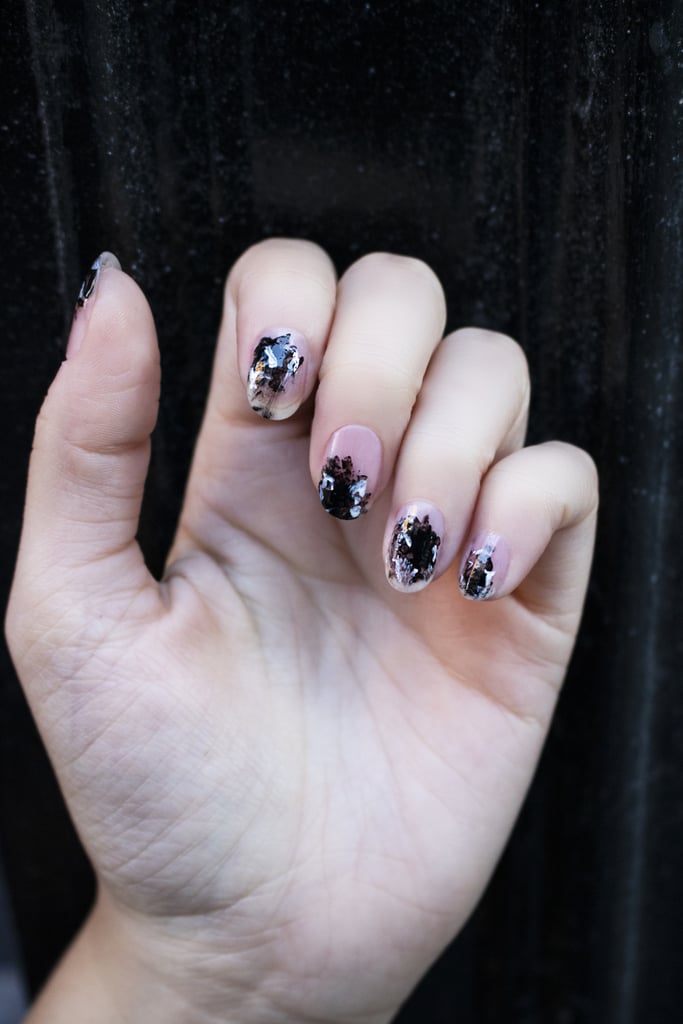
Among the many spooky symbols that are quintessential to Halloween [1], cobwebs are one of the hardest ones to recreate as nail art [2]. Hand-drawing those evenly spaced lines and curves is a painstaking task that can be time-consuming for anyone who isn't a nail professional, but there is one way to get the look in as little as four quick steps.
Manicurist and brand owner Jin Soon Choi [3] created an abstract version of the look that takes minimal effort, tools, and time. Learn more about how to get the manicure [4], ahead.
Cobweb Nails by Jin Soon Choi
How to Create Cobweb Nail Art | Step 1: Prep Your Nails
Choi recommends prepping nails by shaping them with a nail file (we like the OPI Crystal Nail File [5] ($10)), removing dirt and residue, and layering on a base coat.
How to Create Cobweb Nail Art | Step 2: Create Depth
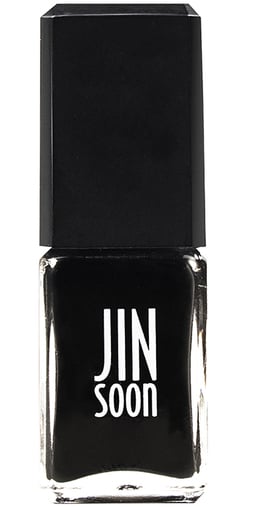
Use a shiny black nail polish like the Jin Soon Choi Nail Polish in Absolute Black [6] ($18) and drop what Choi calls a "dot-sized" amount either near your cuticle or toward the tips of your nails. Then, smear the dot with a small brush that was dipped into nail polish remover to create a cloud effect across your nails. Let it dry for one minute.
How to Create Cobweb Nail Art | Step 3: Create the Cobwebs
To create the cobwebs, paint random strokes of white nail polish like the like the Essie Nail Polish in Blanc [7] ($9) on top of the black smears. No need to be precise here.
How to Create Cobweb Nail Art | Step 4: Seal the Look
Seal your nail art with a glossy top coat like the Sally Hansen Big Shiny Top Coat Nail Treatment [8] ($4).
Cobweb Nails by Jin Soon Choi
Cobweb Nails by Jin Soon Choi


